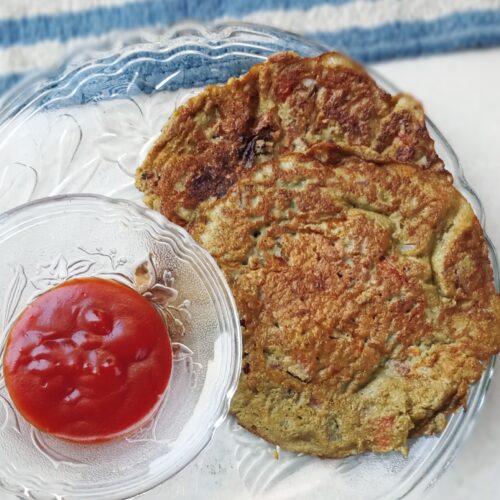
Green Moong Dal Chilla – Healthy Savoury Pancake
Green moong dal chilla is a healthy, protein-rich savoury Indian breakfast made with soaked green grams, spices, and herbs. These savoury pancakes are light, flavorful, and easy to make, perfect for breakfast, brunch, and dinner. They are naturally vegan and gluten-free, making them an ideal choice due to their high nutritional value. Pair them with green chutney and curd for a wholesome and satisfying meal.
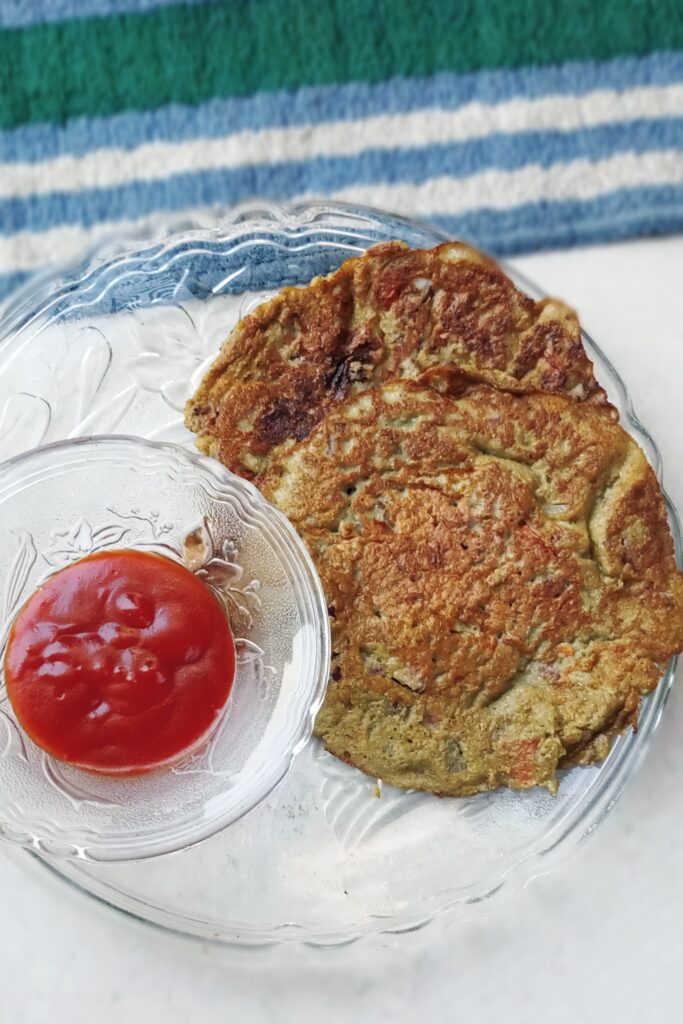
Table Of Contents
About moong dal cheela
Moong dal, also known as mung bean or green gram in English terms. It is a small, nutrient-dense legume that is used in everyday Indian home cooking. This dal generally comes in three forms in the grocery store: whole mung (sabut moong), which is whole green in colour, split with skin (moong chilka), which splits in half with skin, yellow inside and green outside. The last one is split (moong dhuli), in which the grams are split in half without chilka & its green skin, resulting in a bright yellow colour.
All forms of moong dal are used in making various versions like sweet moong dal halwa, a lunch meal moong dal khichdi, or moon dal curry, and for breakfast, that’s what I’m sharing with you, moong dal cheela. In all of them, the most used gram is the split one (moong dhuli). But I like to make chillas with sabut moong (green gram) because of its colour and texture.
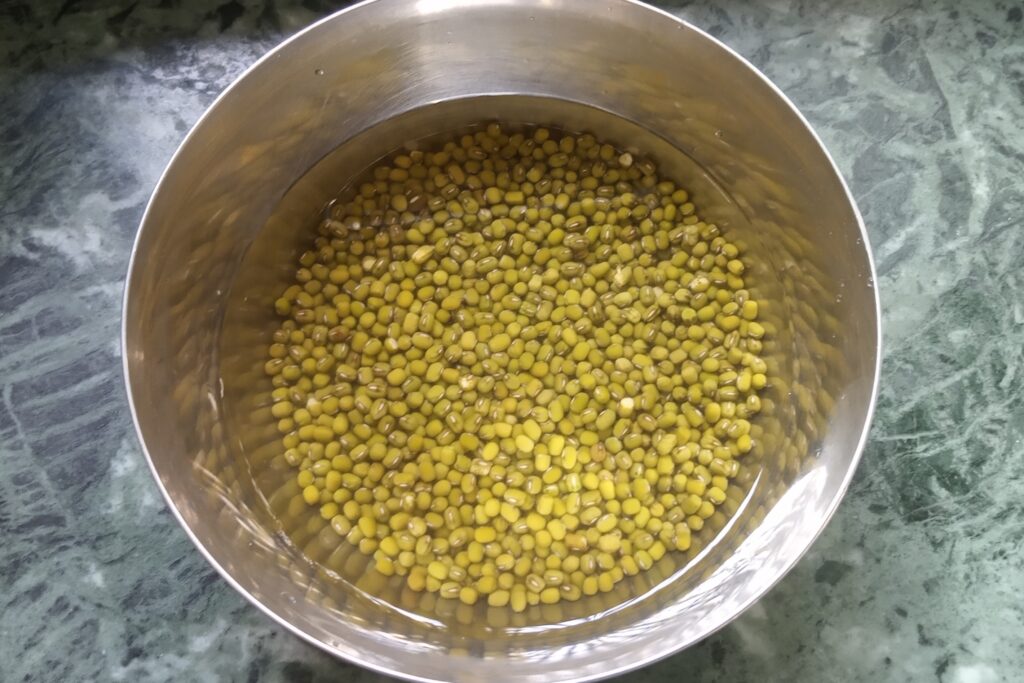
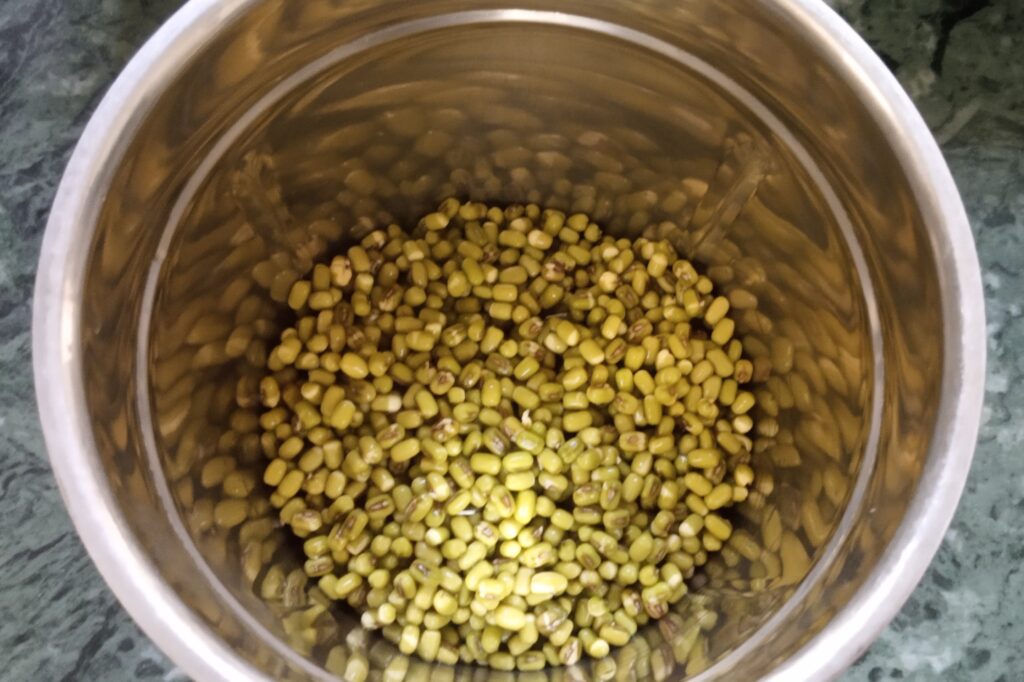
For this moong dal cheela, you have to start the preparation a few hours in advance, i.e., soaking the green gram in water overnight or for at least 2 hours. After a few hours of soaking, the grains would be big and doubled in size, which helps to make a smooth batter. The spices and vegetables are added to the batter, and then it’s completely ready for crispy chillas. After that, spread the batter on the tawa, roast with oil until golden or crunchy, then serve with chutney or raita.
Chillas are one of the easiest and protein-packed breakfasts, as they add high nutrition to meals. Whether it’s suji chilla, besan chilla, sattu chilla, or the sweet cheela. All savoury versions have gone through the same process with the addition of vegetables and simple spices. The sweeter version is a little different, needs whole wheat flour, jaggery, and some dry coconut.
Or today I’m sharing this green moong dal chilla with you, which is equally nutritious and a high-protein-rich breakfast, and also eaten for lunch and dinner with flavorful chutneys and raitas. So let’s break down the ingredients below.
Ingredients
- Green gram- I have used the whole green moong dal with skin. You can also use the moong chilka or moong dhuli as an alternative. It’s your choice, whichever you like the most. All give the same flavour.
- Water- Used for making batter.
- Ginger- Used a small piece of ginger to boost the flavour.
- Green chilli- Used to make it spicy.
- Spices- Coriander powder, cumin powder, and chaat masala are used in my recipe. Asafoetida (hing) or carrom seeds (ajwain) can also be added to improve flavour.
- Veggies- Only onion and tomato, I have used. More veggies, carrots, capsicum, and cabbage can also be added for an extra nutritional boost.
- Salt- Regular white salt and rock salt can both be used.
- Oil- Mustard oil or any vegetable oil can be used for roasting chillas.
How to make moong dal chilla recipe
1. Wash the 1 cup of green gram in clean water for 2 to 3 times, then soak it in enough water for 4 hours or overnight.
2. After 4 hours, drain the water from the soaked green gram, or you can use this water to make a paste. Add the soaked moong dal to a blender jar.
3. Add chopped 1-inch ginger, 1 green chilli, and 1 tbsp of water to it.
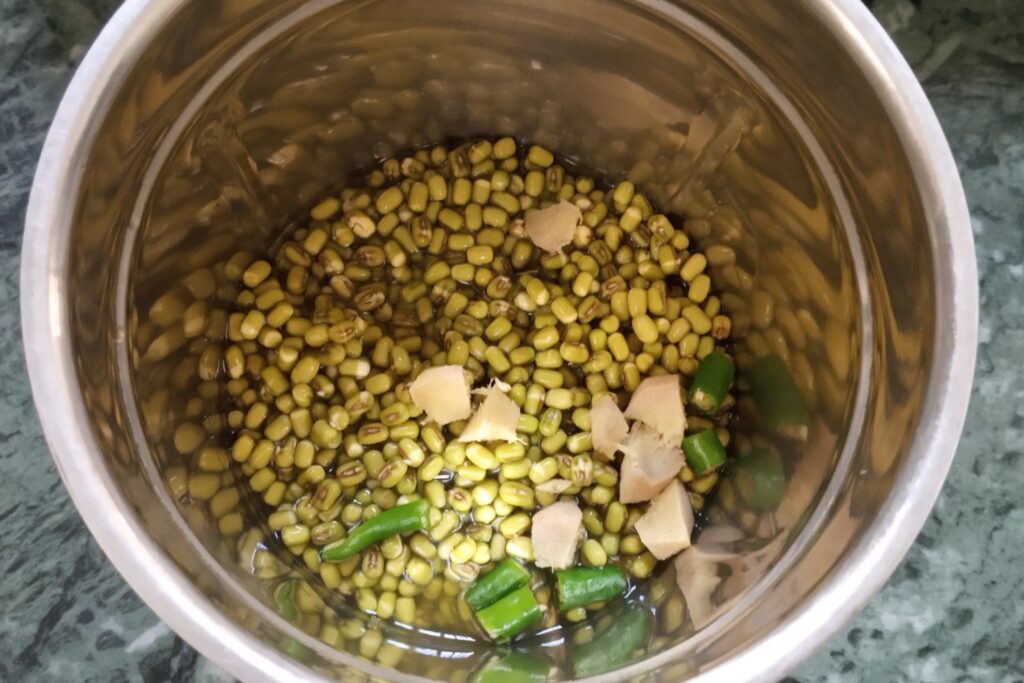
4. Blend and make a smooth paste of them. The paste consistency should be normal, not too thick, not too thin. If thin, add some water and blend again.
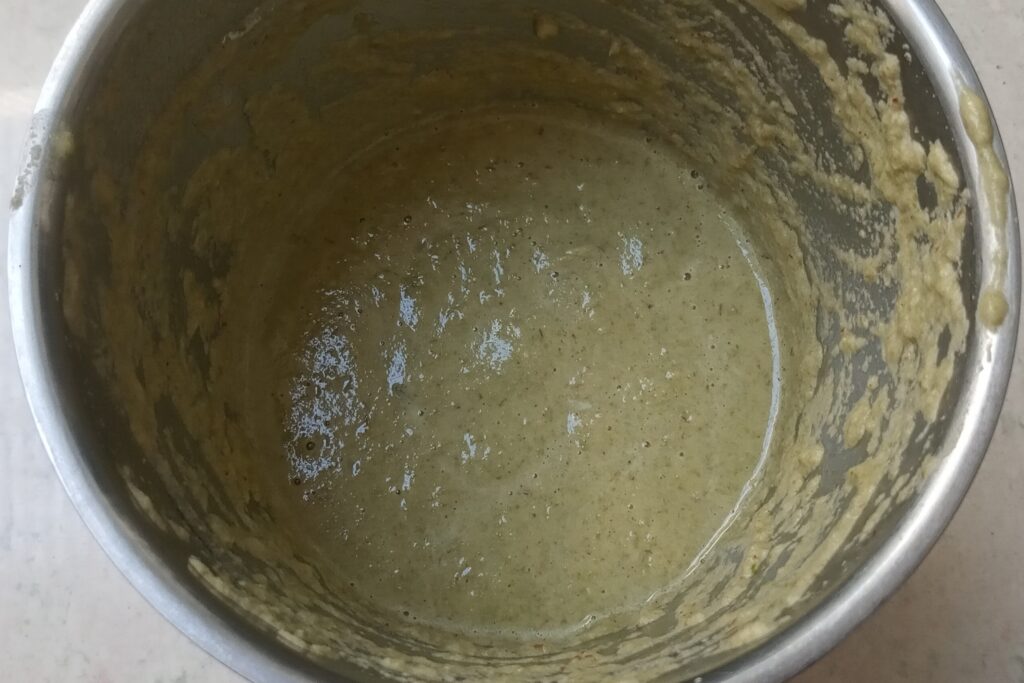
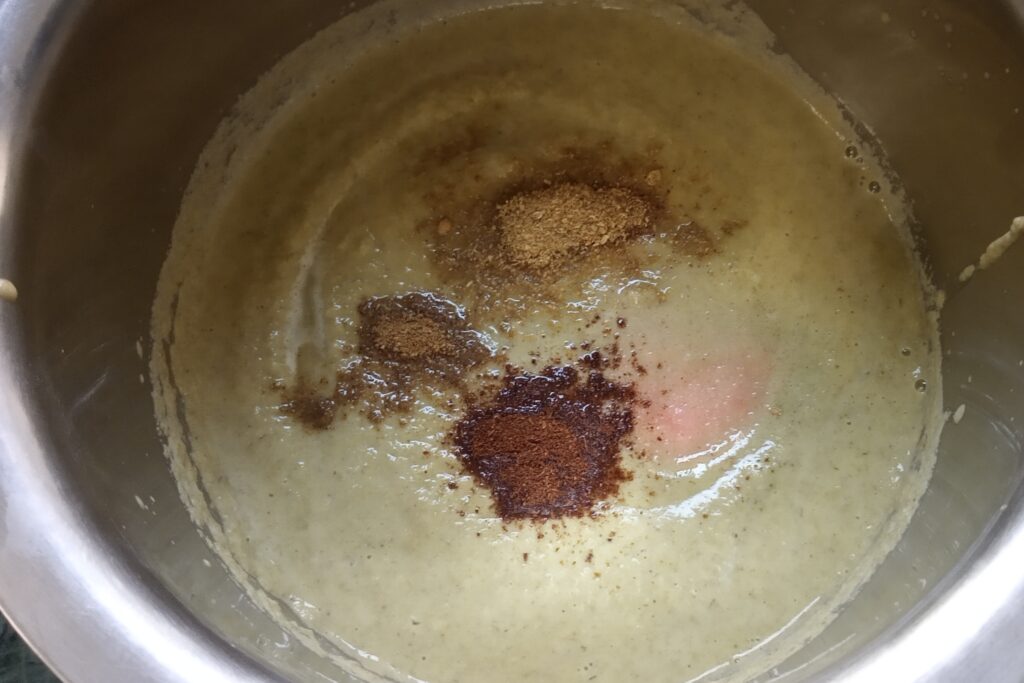
5. Transfer the moong dal paste to a mixing bowl and add 1 tsp of coriander powder, 1/2 tsp of chaat masala, 1/2 tsp of cumin powder, and 1 tsp of salt.
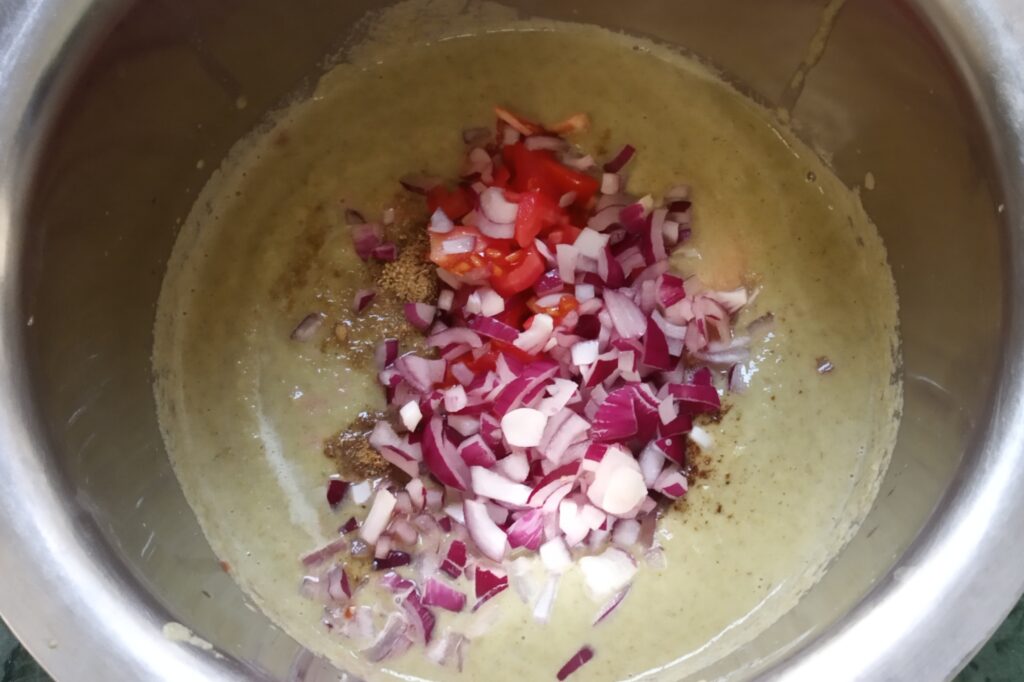
6. Add chopped tomato and onion to it.
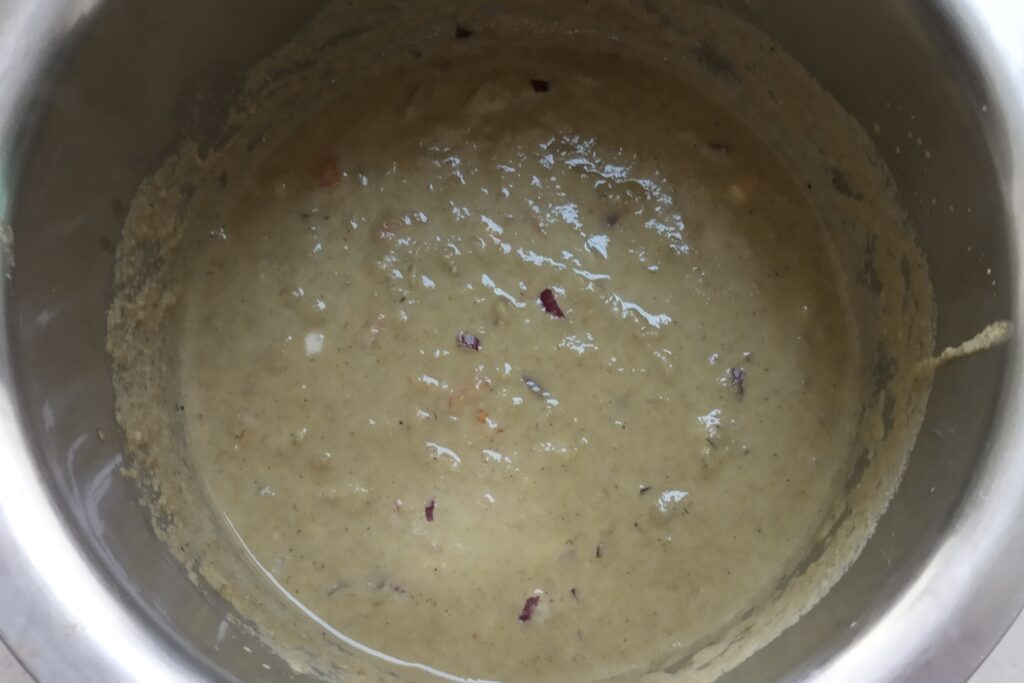
7. Now mix all the ingredients well with a whisk and a spoon until they mix well.
8. Heat the tawa or non-stick pan on medium flame and drizzle some oil on it. Pour the scoopful of batter in the middle of the tawa.
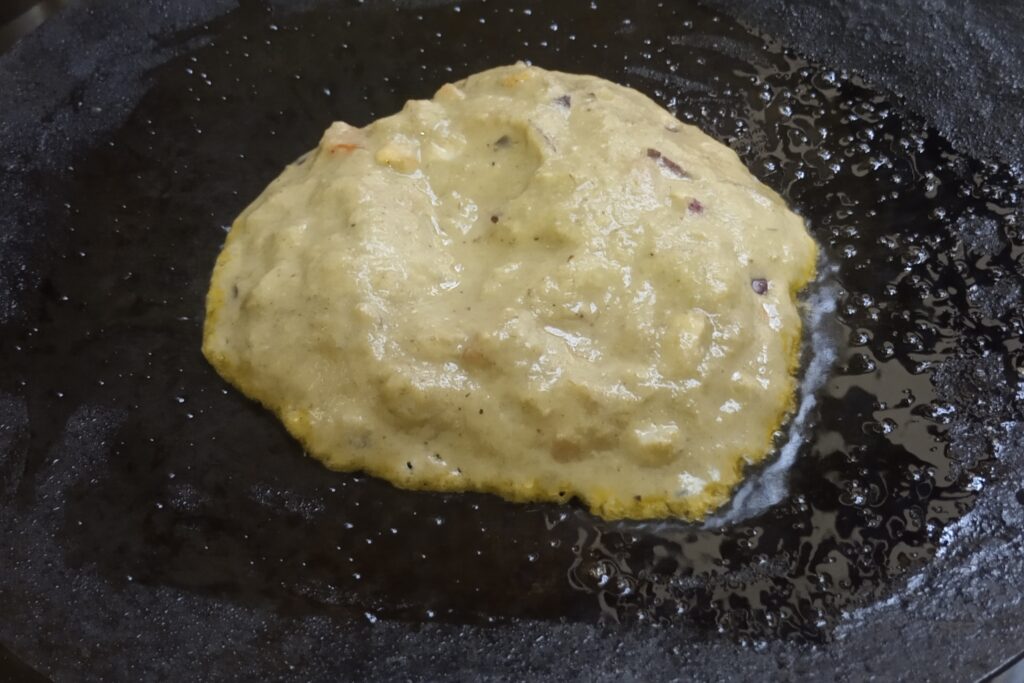
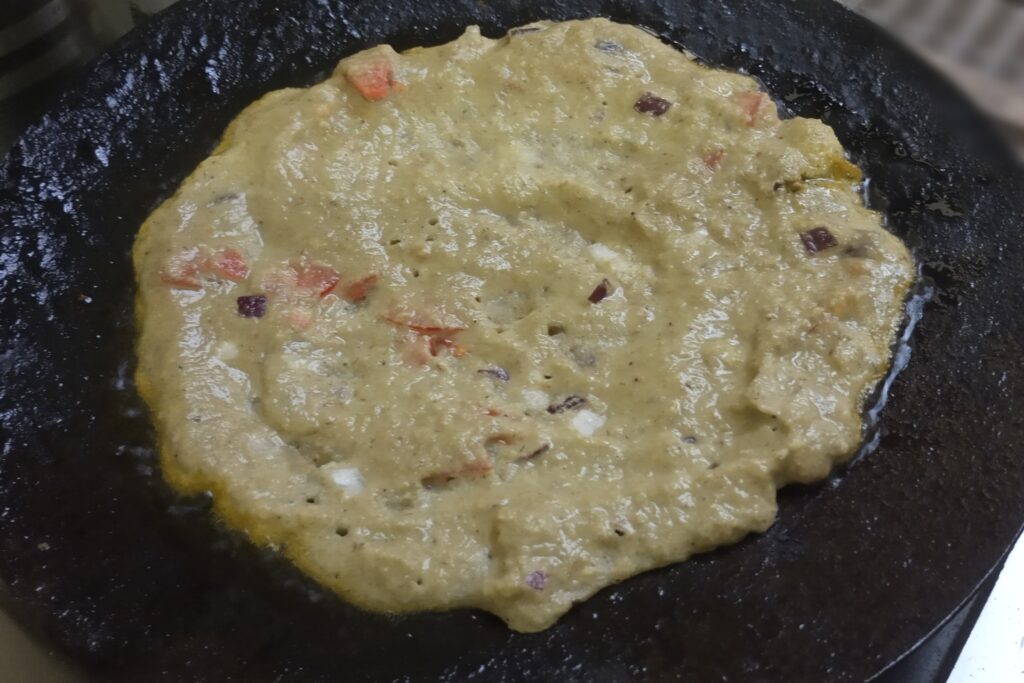
9. Spread it in a circular motion and pour the oil all over its edges, and cook for a minute.
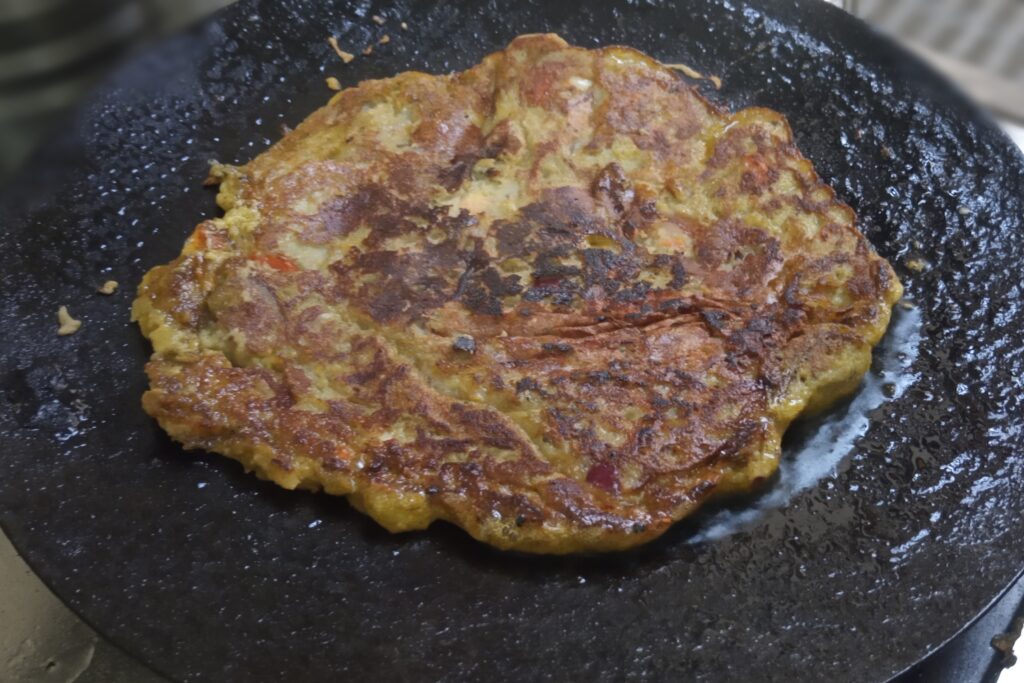
10. Now turn it around carefully, you see the golden flakes come on one side and cook from another side until golden layers come. Then transfer it to a plate and repeat the same process with the rest of the batter.
Serving
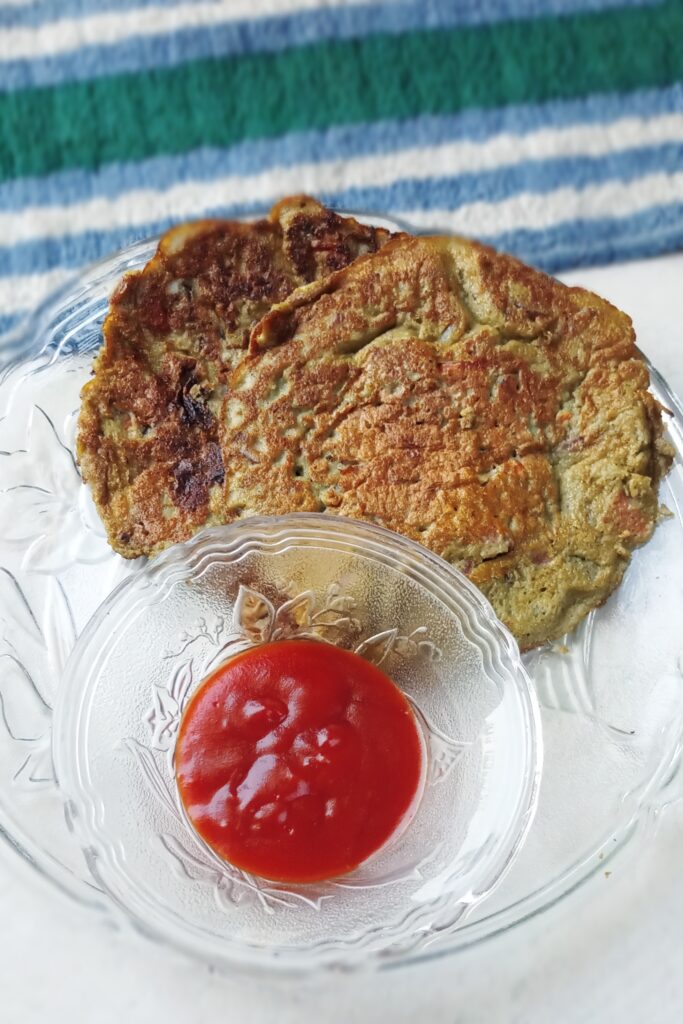
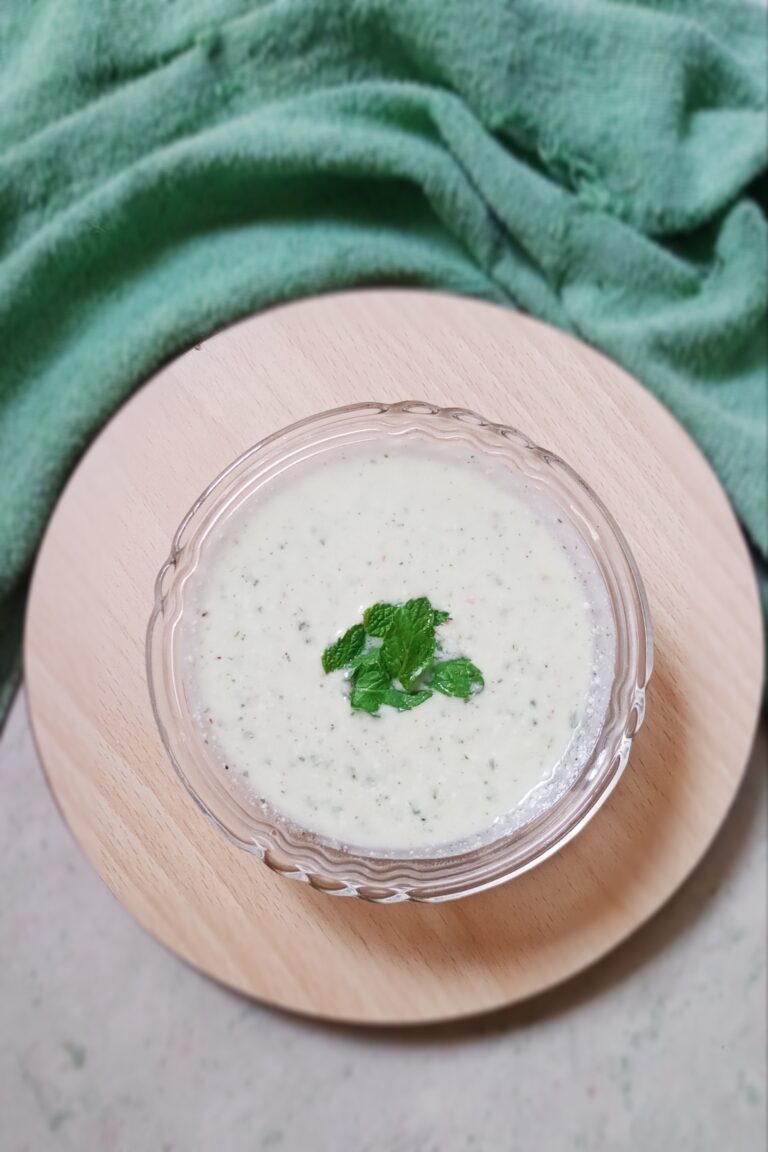
Serve this moong dal cheela hot with coconut chutney, tomato chutney, green chutney, and a cup of masala chai. For a complete meal, you can serve it with mint raita and a glass of masala chaas. Pair it with tomato ketchup for kids. You can also enjoy it with a bowl of plain curd.
Top Tips
- Soaking- It is the most essential part of making chilla. Soaking moong dal helps to get a smooth batter. Soak the green gram in water overnight before making breakfast. If forgotten, then 2 hours of soaking will also work, and if making in brunch time, then at least 4 hours to 5 hours.
- Batter- Make the batter consistency smooth for crispy chillas. If the batter is too thin, it doesn’t hold the other ingredients well, and if the batter is too thick, it will not spread easily, resulting in chewy or dense. So, the batter should be of normal consistency.
- Add-ins- Along with onion and tomato, other vegetables can be added like cabbage, French beans, carrots, cauliflower, and cabbage. Herbs like mint or coriander leaves can also be added for aroma. Paneer or mozrella cheese can be added for extra nutrition.
- Cooking- Use a non-stick tawa or pan or a well-heated tawa to prevent sticking. I have used an iron skillet, but it’s better to use the tawa, which is non-stick for easier cooking. When spreading chilla, the flame should be low, unless you won’t spread it properly, and cook it on low to medium heat to avoid brown chillas.
FAQs
1. Is green moong dal chilla healthy?
Yes, green moong dal cheela is rich in protein, fibre, and nutrients, making it a healthy breakfast recipe.
2. Can I make moong dal chilla without soaking?
No, soaking is recommended because it helps to blend the dal smoothly and improves the texture.
3. How do I make moong dal cheela crispy?
Spread the batter thinly and cook on a low to medium flame with a little oil.
4. Can I store the batter?
Yes, you can refrigerate the batter for up to 1 day, but without adding any vegetables and spices.
5. Is moong dal cheela good for weight loss?
Yes, it is a protein-rich, filling recipe that fits into a balanced diet.
Green Moong Dal Chilla – Healthy & Protein-Rich Breakfast
Ingredients
- 1 cup moong dal with skin
- 1-2 tbsp water
- 1 medium onion, finely chopped
- 1 medium tomato, finely chopped
- 1 green chilli, finely chopped
- a small ginger
- 1 tsp salt
- 1 tsp coriander powder
- ½ tsp cumin powder
- ½ tsp chaat masala
- oil for roasting
Instructions
- Wash the green lentils in clean water, then soak them for 3 to 4 hours.
- After 4 hours, drain the water from the soaked lentils.
- Now, add the soaked moong dal to a blender jar with chopped green chilli, ginger, and 1 tbsp water.
- Blend all the ingredients until you have a smooth paste, not too thin or too thick.
- When the paste is ready, transfer it to a mixing bowl.
- Add spices, coriander powder, cumin powder, chaat masala, and salt.
- Now add onion and tomatoes to it.
- Mix all the ingredients well, and the batter is ready.
- Heat the tawa on a medium flame.
- When it gets heated, drizzle some oil and pour a scoopful of batter in the middle of the tawa.
- Now spread the batter on the tawa in a circular direction.
- Drizzle some oil all over its edges and flip it with a spatula after a minute.
- Again, drizzle some oil on this side too and cook until golden flakes come.
- When the chilla gets the golden flakes, remove it.
- Serve it with green chutney or a cup of tea.
Notes
- Soak the green gram for 4 hours or overnight.
- Blend the batter until smooth for a better texture.
- Spread the batter evenly for crispy chillas.
- Cook on medium flame for even cooking.
- Use a non-stick tawa or pan to prevent sticking.

😋